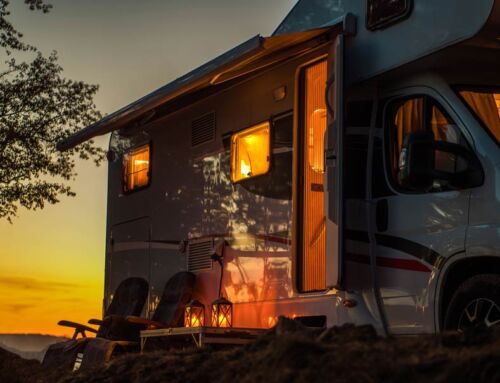
Summer is over and traveling has died down a bit. You may be taking your RV on a fall color-viewing adventure, but your vehicle’s interior is dusty, dirty, and musty—and you want to clean it right now. From all of the experience you have in cleaning your home and car, you think that cleaning an RV is similar—just get out the duster, vacuum, and glass cleaner and get to it! Actually, there is more to cleaning the interior of an RV and there are specific areas and parts that you do not want to miss or neglect.
- Read Up: Don’t get ahead of yourself—make sure you read the instructional manual for cleaning suggestions and advice. There could be products that you need to stay away from which may be harmful to the RV’s surfaces, or it may give specific information on what to clean and how to clean.
- Trash or Treasure: Before you even begin to deep clean, go through and remove anything you no longer need or want, which will make the cleaning process go more smoothly. Regarding the items you want to keep in the RV, make sure they are put away in their proper place, unless you need to remove them temporarily for the cleaning process. Don’t forget to clean out the fridge, storage areas, and small compartments. You never know what you may find.
- Dust First; Vacuum Last: Instead of going vacuum-crazy, dust first. When you dust, make sure to work from top to bottom and use a cloth, such as microfiber or lambswool that will catch the particles and not spread the dust around. A simple mixture of vinegar and water in a spray bottle can be used while dusting to add shine and collect dust more efficiently. Plus, it is safe to use on most surfaces and is non-toxic.
- Vacuum Investment: Between snacking and getting in and out of your RV at your various destinations, and perhaps even having a pet running around, an investment in a highly effective hand-held vacuum is a must. There truly is a difference between a basic vacuum and one that has incredible sucking power, a HEPA filter for allergens floating around, and multiple attachments for those hard to reach nooks and crannies that you do not want to miss.
- Deep Cleaning: Now is the time to shine; gather your favorite products, or make your own, and have at it. Spend some time on all surfaces and don’t forget easily missed areas such as window and door jams or underneath seats and tables.
- The Tanks: This is the perfect time to dump and flush your tanks to get rid of any residing odors, and if your propane tank is looking a little rusty…swap it out for a new one. Or you could give it a fresh new coat of paint to liven it up if you aren’t wanting to fully replace it.
- Up and Under: The roof and undercarriage are easily missed spots because they are not often visually noticed. If you really are looking to deep clean, inspect these areas for any damage and clean them according to your RV’s instructional manual.
- Power washing: This should only be done after referring to the manual or contacting the dealership, as power washing could potentially damage the exterior. If you are given the okay, this would be a beneficial thing to do every once in a while to keep your RV looking in tip-top shape.
There are so many ways to clean and so many products in order to do so efficiently and effectively. You may already have your own preferences and procedures with respect to cleaning your RV and you may be a master at it; however, to be on the safe side, be sure to refer to the RV’s instructional manual, read up on dos and don’ts, and contact the dealership if in doubt. When your job is complete, there will be nothing better than walking into your fresh, spotless, and sparkling RV to begin your next great adventure.
If you realize that your RV requires more than a deep clean, contact Downtown Autobody– where they are trusted locally by friends and family and can help you with your RV paint or body repair needs.


