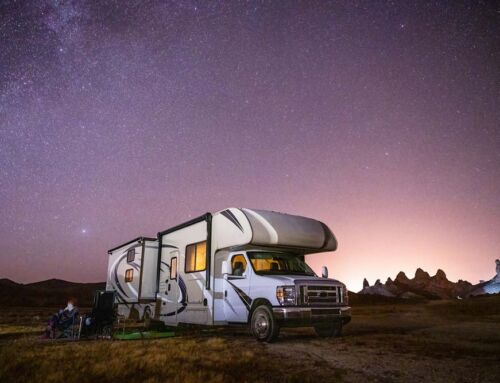
You’ve been waiting for months and it’s just about time to get your RV on the road.
Before you do, tick off the items on your spring maintenance checklist.
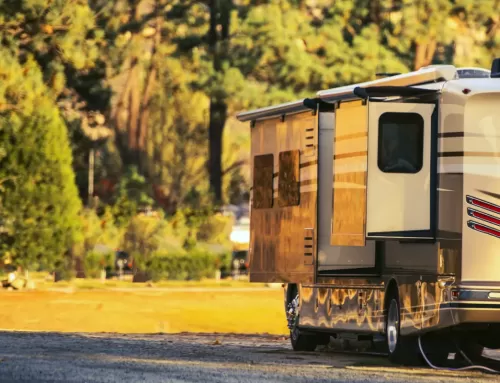
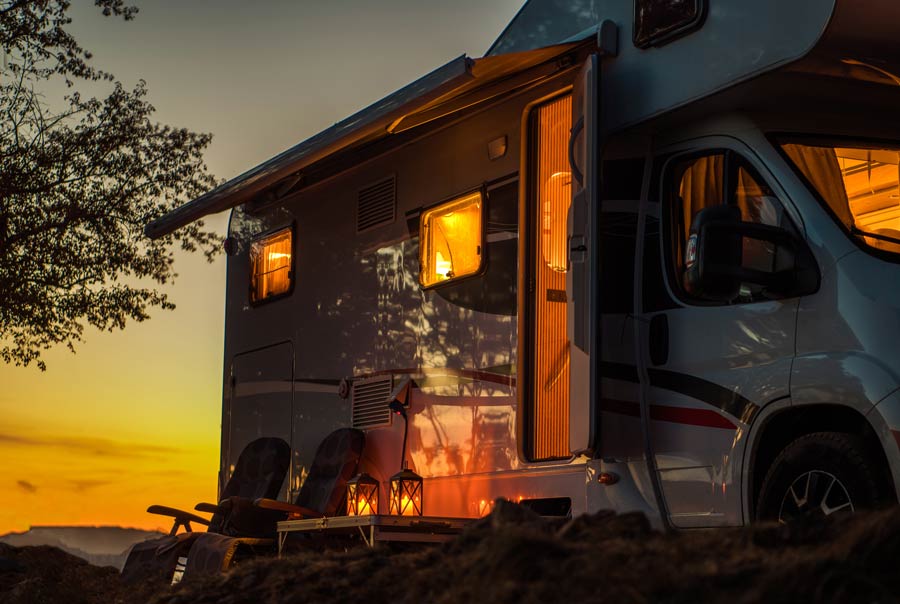
Visual Inspection
Take the time to complete a thorough visual inspection of your RV from top to bottom. Here’s where to look:
- Baggage doors
- Clearance lights
- Entry doors
- Exterior trim
- Roof for leaves, debris that can cause stains, leaks, or other damage
- Seals around all slide-out sections
- Exterior caulk for signs of cracking, peeling, around screws, and potential places for leaks
To repair caulk gone bad, remove existing caulk and clean surface thoroughly. During repair, be sure to apply the correct caulk for specific surfaces like rubber, aluminum, or fiberglass.
Roof
It’s especially important to inspect an RV roof because the potential for cracking and leaks is high.
While up there, it’s important to check the caulk around vents and stacks. Bad or failing caulk in any area where water or debris can settle will damage the seal and ultimately, the roof.
Cleaning
Start at the top and work your way down. Please don’t ever use a pressure washer to clean the roof because while you think it’ll save time, what it will do is cause damage.
When cleaning, use an RV roof specific cleaning product and not regular soap like dish soap. It’s way too harsh for your RV roof. RV roof cleaning products are specially formulated specifically for this job and will keep your roof clean and in top condition for many seasons to come.
Start with a gentle rinse, apply the cleaner in small sections. Work product carefully into the roof and gently rinse again.
Use caution when on the roof because it can get slippery. Wear protective clothing and non-skid work boots.
After completing the cleaning of the roof, it’s time to clean the sides. Again, it’s important to use a product designed specifically for cleaning the aluminum and/or fiberglass construction of your RV. Follow product directions carefully and completely.
RV Spring Checklist
Once the basic visual inspection, repairs and cleaning are done, check the remaining items off your list:
- Battery Charge before installation
- Lubricate jacks, hinges, locks, slide-outs (RV specific products, not petroleum based)
- Water system flush (hot and cold water lines)
- Propane tank inspection (leaks, fittings, connections, fill up, testing)
- Filter changes
- Interior dusting, cleaning
- Freshening upholstery/carpeting
Conclusion
To make sure you enjoy a safe RV season, go through your RV spring checklist and tackle those repair and cleaning to-do items.
For repairs due to collision damage or for professional paint restoration, call to schedule a service appointment with the RV collision repair and paint experts at Downtown Autobody in Rohnert Park.