Expert Guide to Repairing Fiberglass Body Damage
Here in Sonoma County, fiberglass body damage is a common issue for vehicle owners, particularly those with RVs, Corvettes, and other specialty vehicles. Fiberglass repair requires specific techniques and expertise to restore both function and appearance properly. At Downtown Autobody, we’ve compiled this comprehensive guide to help you understand the fiberglass repair process and when professional intervention is necessary.
| Topic | Key Points |
|---|---|
| Fiberglass Damage Types | Cracks, punctures, delamination, and stress fractures require different repair approaches |
| Common Vehicles | RVs, Corvettes, boats, and specialty vehicles frequently use fiberglass components |
| Repair Benefits | Structural integrity restoration, water damage prevention, aesthetic improvement, value preservation |
| Professional vs. DIY | Complex repairs require specialized equipment and expertise for proper color matching and structural restoration |
Understanding Fiberglass Construction and Damage Types
Fiberglass body components are constructed from glass fibers embedded in a resin matrix, creating a lightweight yet strong material. Unlike metal body panels, fiberglass doesn’t dent—it cracks or fractures when impacted. According to the Society of Automotive Engineers (SAE), fiberglass components maintain their integrity better than metal in many corrosive environments, making them ideal for RVs and marine applications.
When fiberglass sustains damage, the type of impact determines the repair approach. Surface scratches might require simple gel coat repairs, while structural damage demands more extensive reconstruction. For RV owners especially, addressing fiberglass damage promptly prevents water intrusion that can lead to extensive interior damage and mold issues.
The repair process varies significantly between vehicles like Corvettes and RVs due to differences in construction methods and finish quality requirements. Corvettes typically use higher-grade fiberglass with specialized finishes that require precise color matching and blending, while RV repair often involves larger surface areas with more straightforward finishing requirements.
The Professional Fiberglass Repair Process
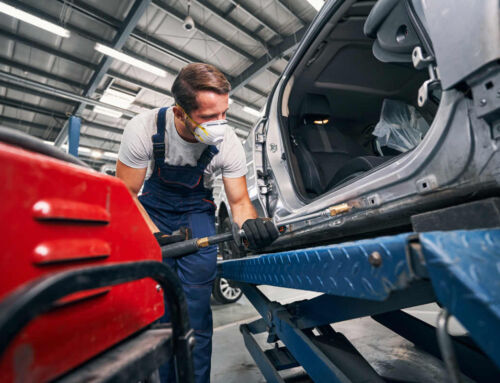
Professional fiberglass repair begins with a thorough assessment of the damage extent. Technicians must determine if the damage is merely cosmetic or if it affects the structural integrity of the component. For RVs and larger vehicles, this assessment is particularly important as these vehicles frequently experience stress across large fiberglass surfaces.
The repair process typically follows these important steps:
- Surface Preparation – Damaged areas are cleaned, sanded, and prepared to ensure proper adhesion of repair materials. This critical first step prevents future delamination.
- Structural Reinforcement – For deeper damage, technicians apply multiple layers of fiberglass matting and resin to rebuild the structural integrity of the component.
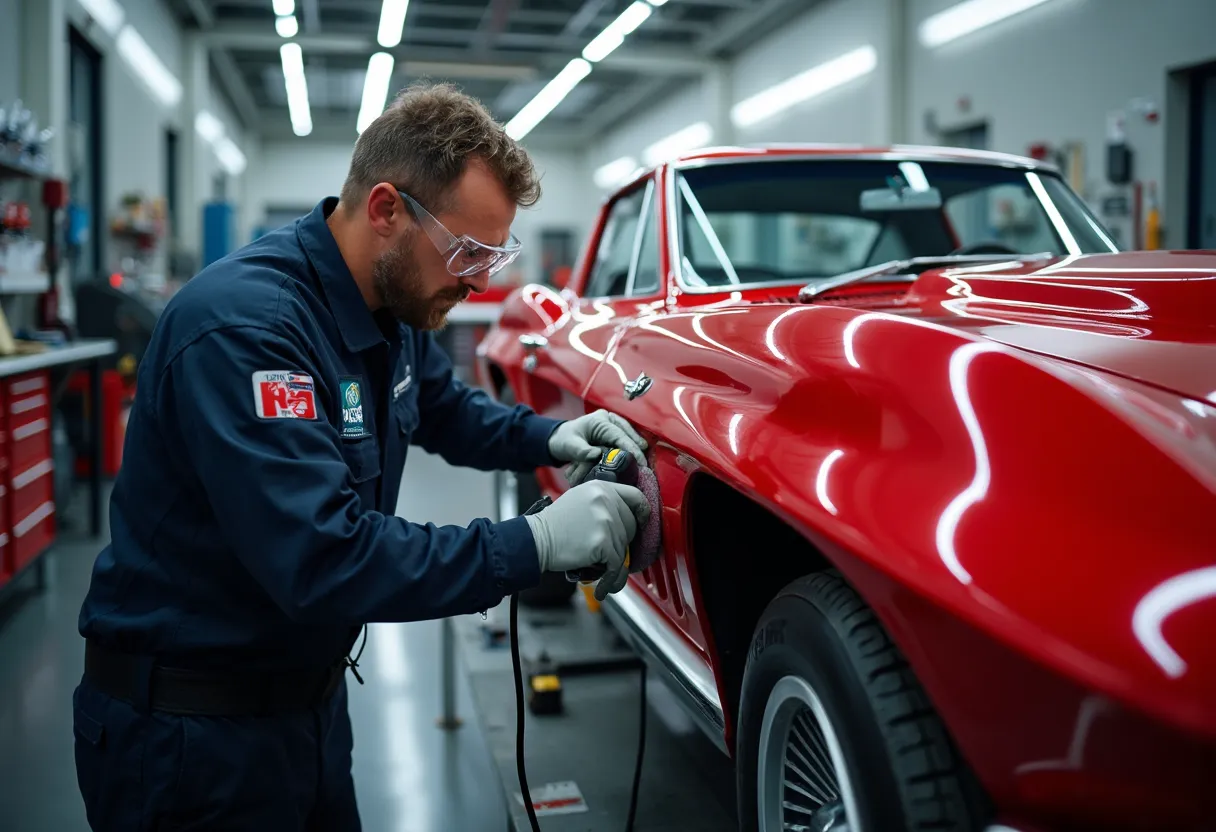
- Contouring and Shaping – Once cured, the repair area is carefully sanded and shaped to match the original contours of the vehicle body.
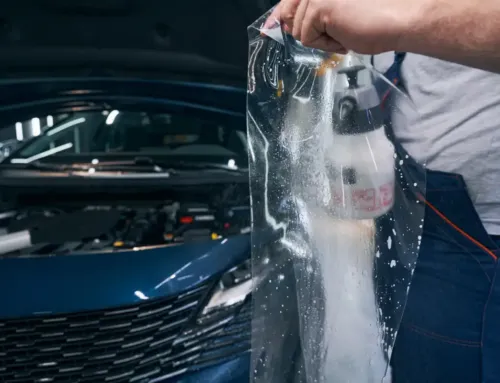
- Gel Coat Application – For visible surfaces, color-matched gel coat is applied to restore the original appearance and provide UV protection.
- Finish Polishing – Professional polishing brings the repaired area to a perfect match with surrounding surfaces.
Once structural repairs are complete, the refinishing process begins. This is where professional facilities like our 80-foot paint booth become essential, particularly for larger vehicles like RVs and commercial trucks. Proper curing environments ensure the longevity and quality of fiberglass repairs.
Advanced Techniques for Different Vehicle Types
Professional repair facilities employ different techniques based on the specific vehicle type. Corvette fiberglass repair, for instance, requires exceptional attention to detail due to the car’s performance requirements and high visibility of any imperfections.
Specialized approaches include:
- Carbon fiber reinforcement for high-stress areas
- Vacuum bagging for optimal resin distribution
- Temperature-controlled curing to prevent warping
- Custom color matching for vintage or rare vehicles
- Use of automotive-grade UV stabilizers for long-term color retention
RV fiberglass repair presents unique challenges due to the size of the panels and the complex shapes involved. Our technicians are specifically trained in large vehicle repair techniques, which is why many RV owners throughout Sonoma County trust us with their vehicles. Using our specialized facilities, including the county’s only 80-foot paint booth, we can handle even the largest fiberglass repair projects.
For both RVs and passenger vehicles like Corvettes, proper fiberglass repair is essential not just for aesthetics but for maintaining value. According to industry data, properly repaired fiberglass components can maintain 95% of their original strength when repaired using certified techniques by I-CAR Gold Class technicians.
Why Professional Fiberglass Repair Matters
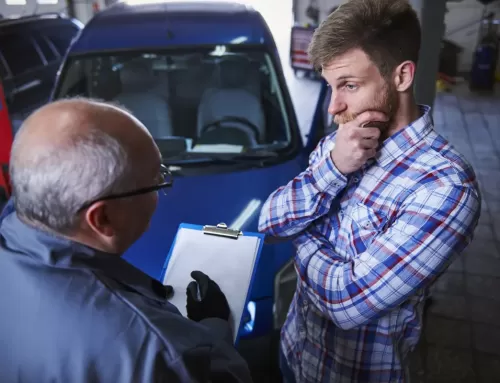
When considering fiberglass repair, the expertise and equipment available at a professional auto body repair facility make a significant difference in the quality and longevity of the repair. DIY approaches often lack the specialized materials and controlled environments necessary for proper curing and finishing.
Professional repairs provide significant advantages including precise color matching, proper structural reinforcement, and warranties that protect your investment. For RV owners especially, professional repair prevents the cascading damage that can occur when water penetrates improperly repaired fiberglass panels.
For Corvette and specialty vehicle owners, the value preservation aspect cannot be overstated. Properly documented professional repairs maintain vehicle value much better than DIY attempts, which is particularly important for collectible or high-value vehicles.
Damage Assessment
Professional assessment differentiates between cosmetic and structural damage, ensuring the right approach for repair.
Repair Process
Involves surface preparation, structural reinforcement, contour shaping, and gel coat application for a seamless finish.
Vehicle Specific Techniques
Corvettes require detailed color matching, while RVs demand techniques to handle large panels.
Professional Repair Benefits
Ensures longevity of repair with expert color matching, structural integrity, and protection from further damage.
Maintaining Your Fiberglass After Repair
Once your fiberglass components have been professionally repaired, proper maintenance will extend the life of the repair and the component itself. Regular inspection for new damage, especially after travel or severe weather, can help catch minor issues before they become major problems.
For RV owners, we recommend seasonal inspections before and after storage periods to identify any stress cracks or seal failures that could lead to water intrusion. Corvette owners should pay special attention to lower panels that may be subject to road debris impact.
As your local auto body experts in Sonoma County, we understand the unique challenges our climate presents for fiberglass components. From UV damage in our sunny summers to moisture concerns during rainy seasons, proper maintenance is essential for long-term protection.
Contact Downtown Autobody for Expert Fiberglass Repair
Understanding fiberglass repair is the first step in protecting your vehicle investment. Whether you own an RV, Corvette, or any vehicle with fiberglass components, professional repair ensures both structural integrity and aesthetic quality.
At Downtown Autobody, our I-CAR Gold Class certified technicians have the specialized training and equipment necessary to handle all types of fiberglass repair. Our partnership-owned business is committed to providing the highest quality repairs for our Sonoma County community.
If you have questions about fiberglass damage on your vehicle or would like to schedule an assessment, we’re here to help with honest, professional advice and exceptional service.